How to build a personal account on Tilda: a full guide for beginners and advanced users
Tilda offers a built-in solution for creating a personal account — Tilda Membership (website members). With this functionality you can set up registration, authorization, user profiles and private areas. In this guide we will go through how to set everything up and suggest best practices.
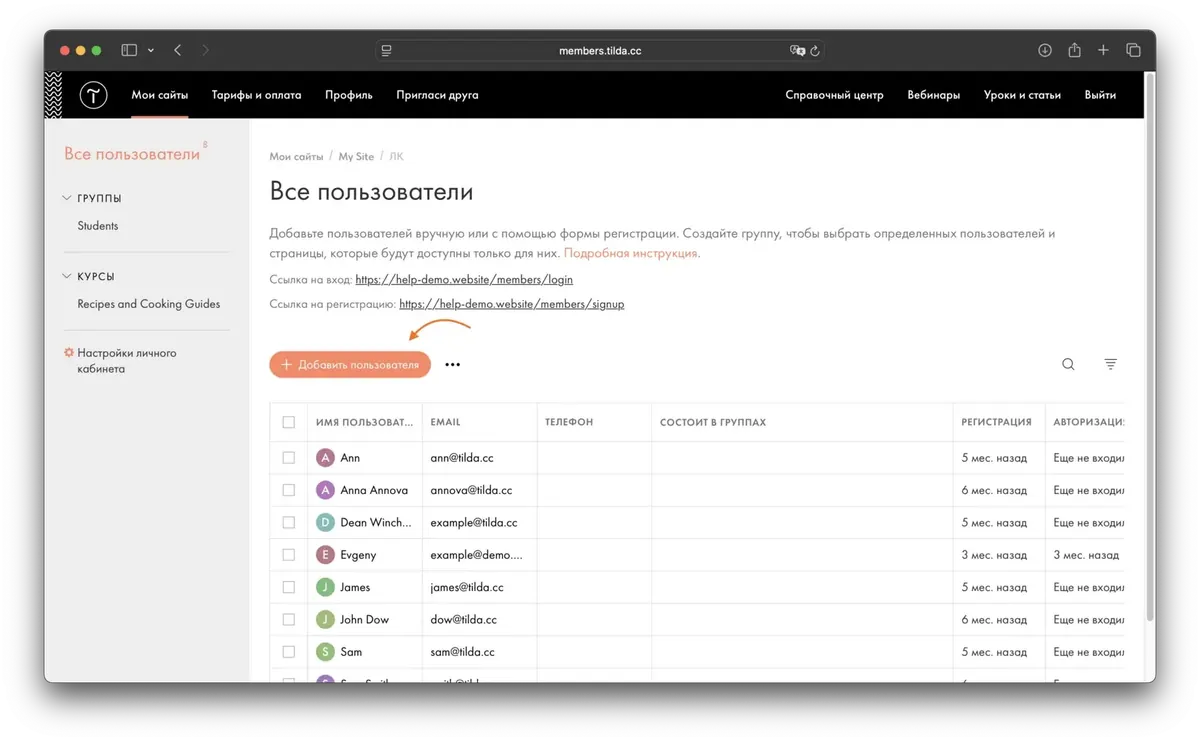
1. What Tilda Membership is
Tilda Membership is a built-in mechanism for managing users (members) of a Tilda website. Here is what it provides:
- User registration and login
- A member profile on the website
- Private pages available only to “registered” users
- Division into plans, roles and segments
- Setting up access logic for different groups of people
This functionality helps turn a Tilda website into a full personal account for clients, students, subscribers or community members.
2. How to add Members to a website — step-by-step instructions
- Enable Members in the project:
- In the Tilda control panel go to “Site settings” → the Membership section.
- Turn on the “Enable Membership” option for your website.
- Set up participant types (roles / plans):
- Create the necessary roles or plans: for example “free”, “premium”, “subscription”.
- These roles determine who gets access to which pages.
- Add registration / login / profile blocks:
- Use the ME101 block — a registration form: name, email, password and other fields.
- The ME102 block is the standard login form (for those already registered).
- The ME104 block is the participant profile: it shows profile data and allows editing.
- Set up private pages:
- Go to the page you want to close to unregistered users.
- In the page settings: “Access” → “Membership” → select the roles that will be granted access.
- This way you can set up different roles to see different areas of the website.
- Edit profile fields:
- In the registration / profile blocks you can set additional fields (phone, date of birth, etc.).
- These fields will be shown in the user’s profile and saved in the Tilda user database.
- Set up behavior after login / registration:
- You can choose where the user will be redirected after successful registration or login.
- You can also set up email notifications or welcome emails for registration.
3. How to work with segments and plans
- Segments are groups of users that can be combined, for example by “activity”, “subscription level” or “plan”.
- Plans / roles determine which pages are available to users: for example the “basic” plan gets only starter materials, “premium” gets all content.
When working with access separation it is useful to think through:
- Which users do you expect?
- Which parts of the website will be tied to plans?
- How will you upgrade plans / move people between segments?
4. Pros and limitations of Tilda Membership
✅ Pros:
- No need to connect third-party authorization systems — everything is inside Tilda
- Easy to set up and manage
- The ability to segment and separate access
- Suitable for online schools, private clubs, subscription content
❗ Limitations:
- No complex “balance + transactions” logic: you cannot store accounts, orders or “bonus balances”
- Profile fields are limited to standard blocks
- No API access to profiles via Tilda Membership (limitations for dynamics)
- Not suitable for systems with “wallets”, “order history” or “balance movement”
5. A hybrid path: Tilda Membership + external databases
If you need to store dynamic data (for example orders, bonuses, progress), you can use a hybrid:
- Use Tilda Membership for authorization and access.
- Connect Airtable / Google Sheets / Notion as a “backend” for storing data.
- With JavaScript + integrations (Zapier / Make), load data into Tilda’s private pages.
This option lets you:
- combine the simplicity of Tilda Membership with dynamic data
- show the user personal data in their profile
- update data through an external system rather than through Tilda’s “admin panel”.
6. Recommendations and best practices
- Design roles and plans in advance — so you do not have to rebuild the access structure.
- Minimize fields in the registration form — only the most necessary, to lower the barrier.
- Set up a welcome email — send a welcome message after registration.
- Periodically clean out “inactive” users — if there is a subscription but the person does not log in.
- Test access — check that different roles see the right pages.
- Think about an “external backend” if you need progress, balance, orders.
7. Example of use: “An online school student account”
- You set up roles: “Student”, “Premium student”, “Admin”.
- You create private pages: lessons, materials, homework.
- You add the ME101 form so students can register.
- The student logs in → sees their profile in ME104 → the right plan opens → the list of lessons is shown.
- Through Airtable you store lesson progress → with an integration you display the progress on the student’s page.


